Taking a picture with the Kinect using Coding4Fun
A while back I detailed my first foray into Kinect development. Now I’ve learnt a bit since then, which includes a much simpler way of taking a picture using the Kinect’s RGB camera and saving that to the computer.
This approach uses the Coding4Fun Kinect library. If you’re not currently using it, then do. It makes life a whole lot easier. Download it, import references, hit the using statement. You know the drill.
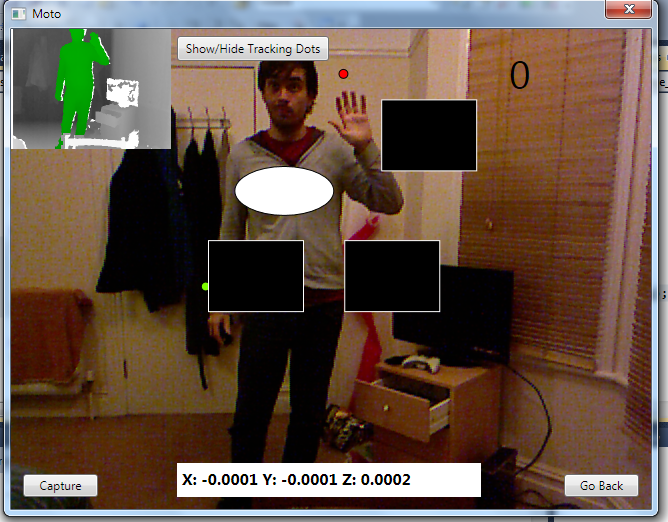
I’m going to go ahead and assume you’ve got Kinect firing an RGB image into an image somewhere on your WPF window, correct? The code won’t look a million miles away from this:
void nui_VideoFrameReady(object sender, ImageFrameReadyEventArgs e)
{
PlanarImage image = e.ImageFrame.Image; //Allows us to see image data

    userImage.Source = e.ImageFrame.ToBitmapSource();

}
We’re plopping ours into an image called userImage. That’s helpfully named, isn’t it…
What we’re going to need to do is create a button in our window to trigger this capture. You could map it to a gesture, or a voice command or something, but we’re going old school.
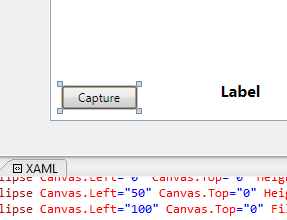
Now the code to snap a picture on our button is this:
private void btnCaptureImage_Click(object sender, RoutedEventArgs e)
{
BitmapSource image = (BitmapSource) userImage.Source;

image.Save(DateTime.Now.ToString("ddMMyyyy HHmmss") + "/assets/2011/11/taking-a-picture-with-the-kinect-using-coding4fun/.jpg", ImageFormat.Jpeg);
}
What we’re doing here is extracting the source of our userImage as a BitmapSource. Then we’re using the Coding4Fun method Save to save it. It goes into the default place of Bin –> Debug unless told otherwise, I’d imagine. We’re saving it with a unique name based on the system time, as otherwise it would just overwrite the last captured image, and that’s no fun.

That’s it really. Hope this helps someone!